Thursday, October 2, 2014

Japanese Kitchen Knives - Western Style Rehandles - A How To by Dave Martell

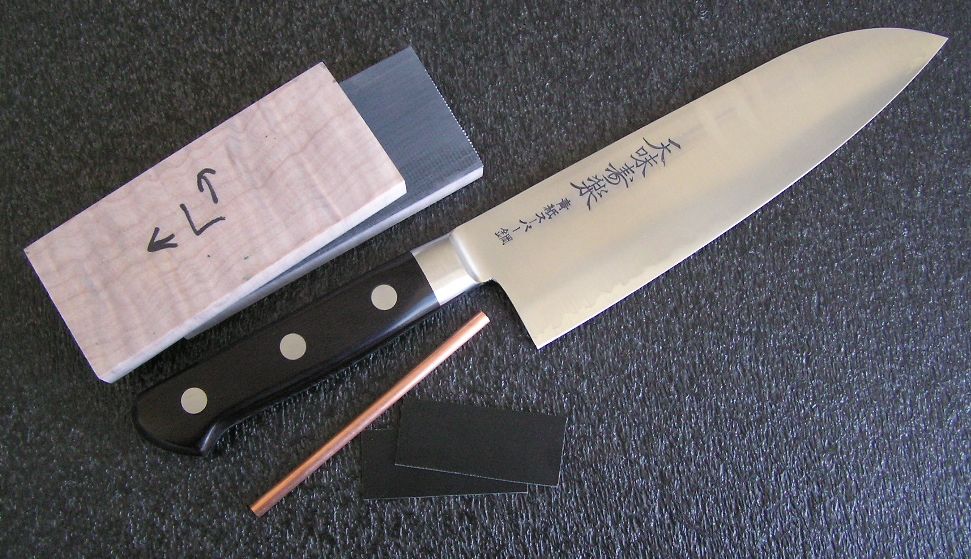
I'm going to show the process of how I rehandle western knives. The mules are Hiromoto AS knives - a gyuto & a santoku. The gyuto will be getting a hidden tang conversion, the santoku will receive full tang scales.


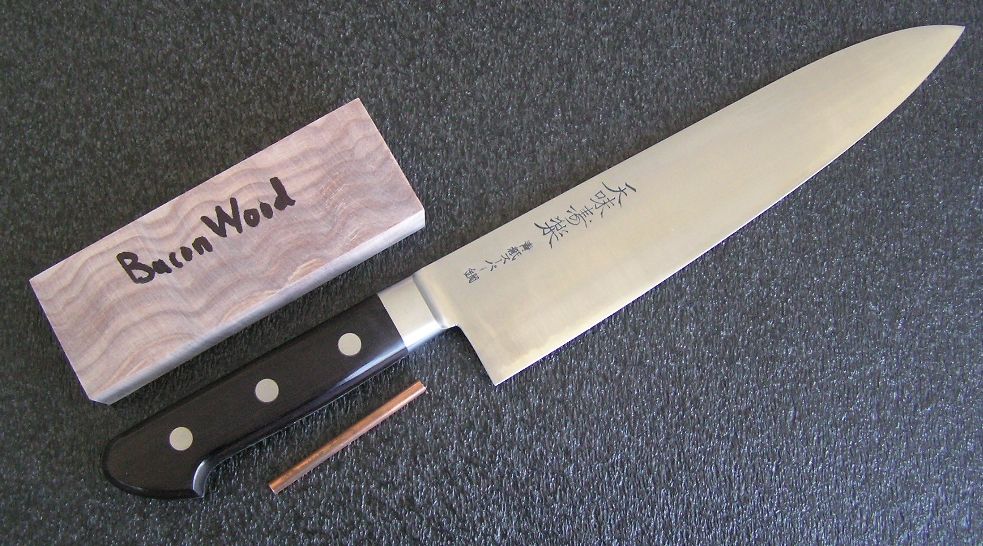
First we see the knives laid out along with all of the materials required. The wood has been cut down to size, squared up, and the scales (for the santoku) have been cut as well as have their G10 liners glued up.


(The wood isn't really called "baconwood" - the owner dubbed it this name as it reminds her of bacon)


The blades are wrapped in protective tape and then the scales were removed from the handles. Sorry no pictures, I should have taken some but I forgot. The procedure is to grind the heads of the rivets off and then punch them out - scales fall off.


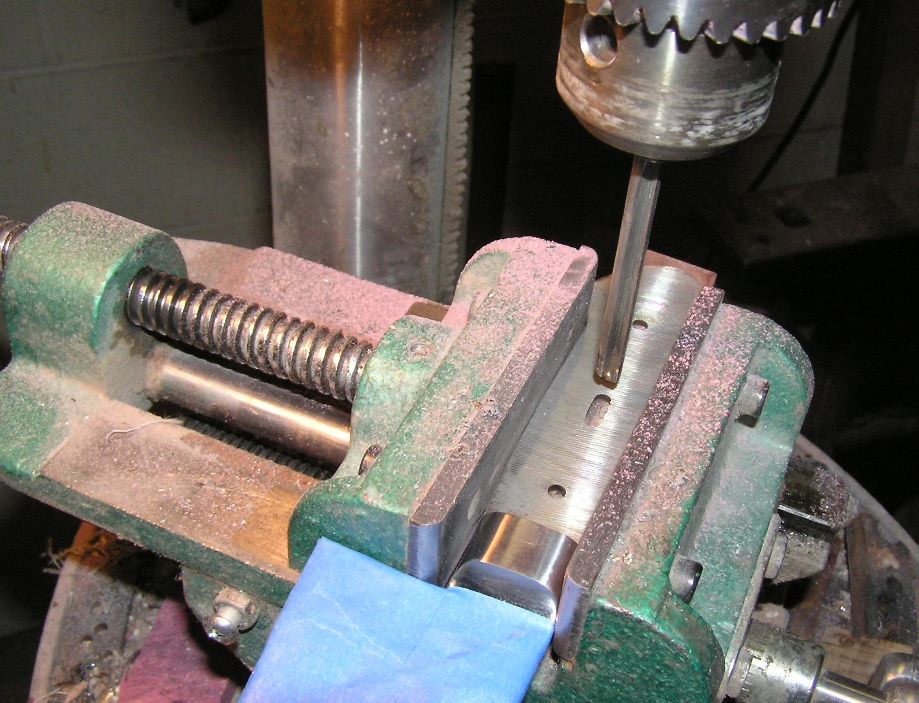
The holes in the tangs were drilled out to a larger size to accommodate the pins I use. In case you're wondering why I need to drill the holes out, the Japanese use rivets with large heads yet tiny shafts so the factory pin holes are very small. The tangs are hardened and require a carbide drill bit to cut through them.


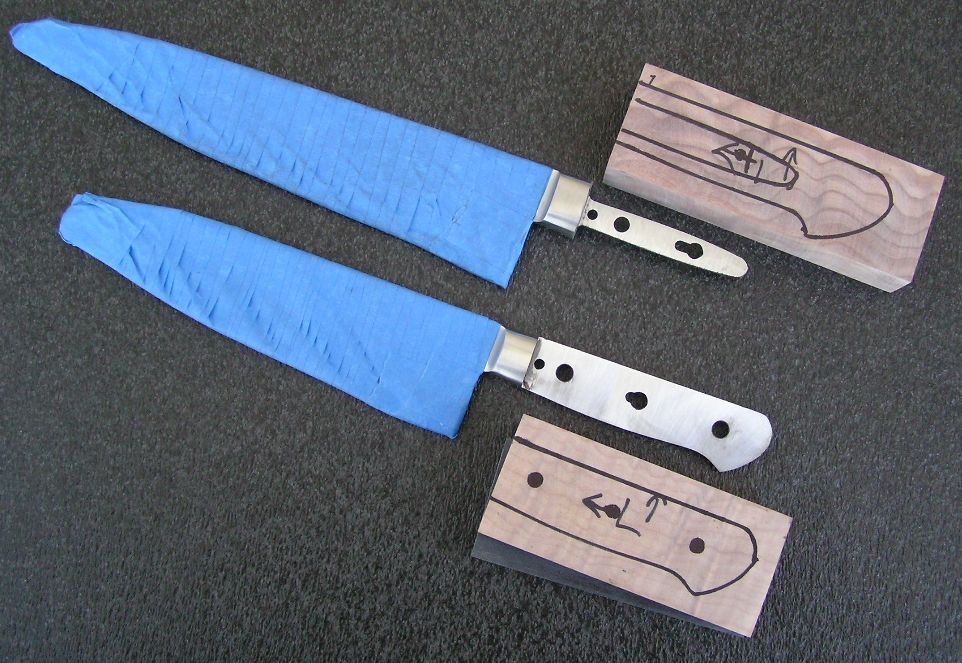
Here you'll see the knives laid out at the point ready to have the wood attached. I have some more fitting to still do to ensure a clean fit up but otherwise the next step will be mounting the wood.


You'll notice that the gyuto's tang has been ground down to make the hidden tang conversion. The owner requested a hidden tang handle on this knife because she wants to show the maximum amount of "baconwood"as possible.


Here I'm drilling the pin holes for the santoku. I bring the whole assembly (knife included) to the drill press to drill my pin holes. I've found over time that if I do it this way I can make one pass through both scales and get perfect alignment without having to run the risk of over-sizing the holes from drilling the second scale as is more commonly done. *Note - Doing the drilling like this works great for tapered tangs - perfect fit every time.

I finish the holes by using a reamer (shown in the picture) to get the perfect size for a (hopefully) perfect fit.


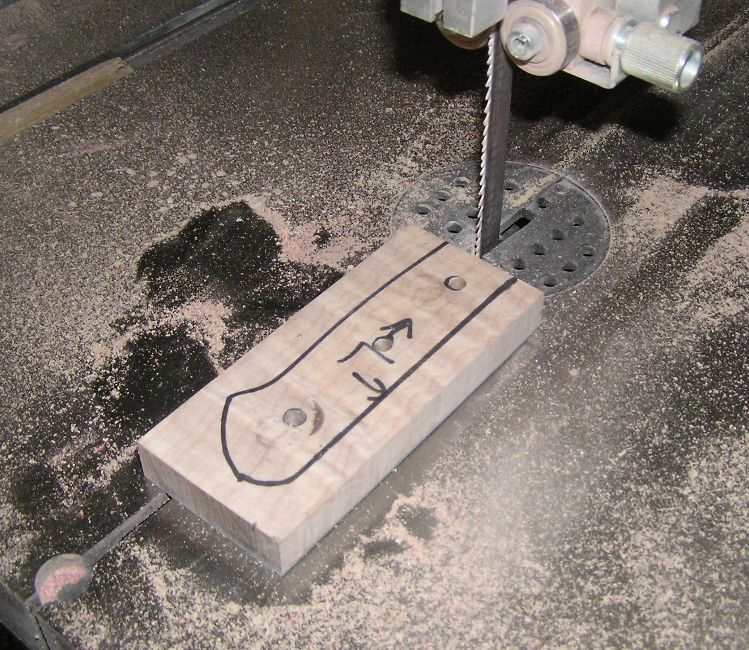
I then cut out the shape (pattern) for the scales.


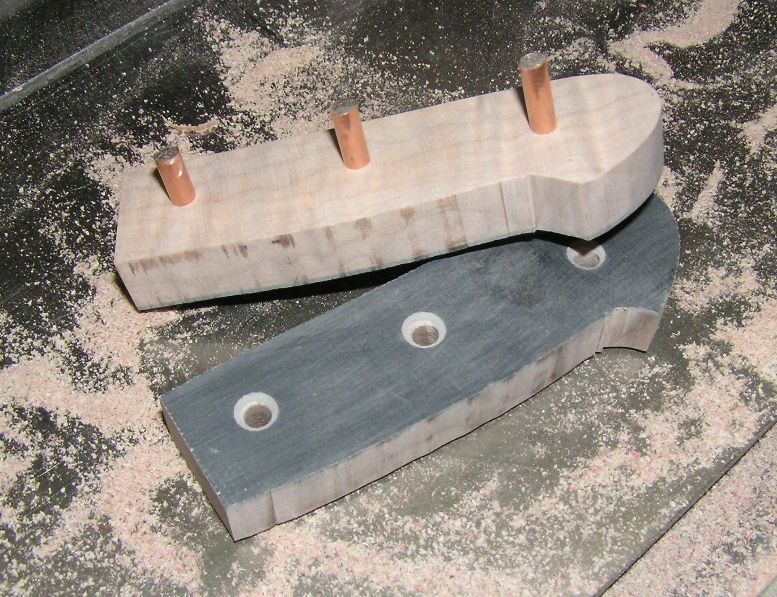
Here are the santoku scales with pins inserted part way, ready for glue up.


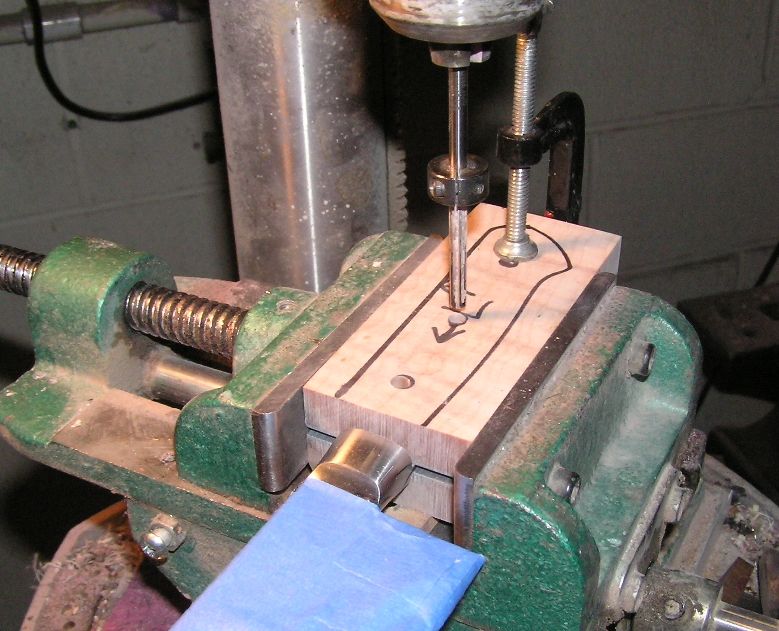
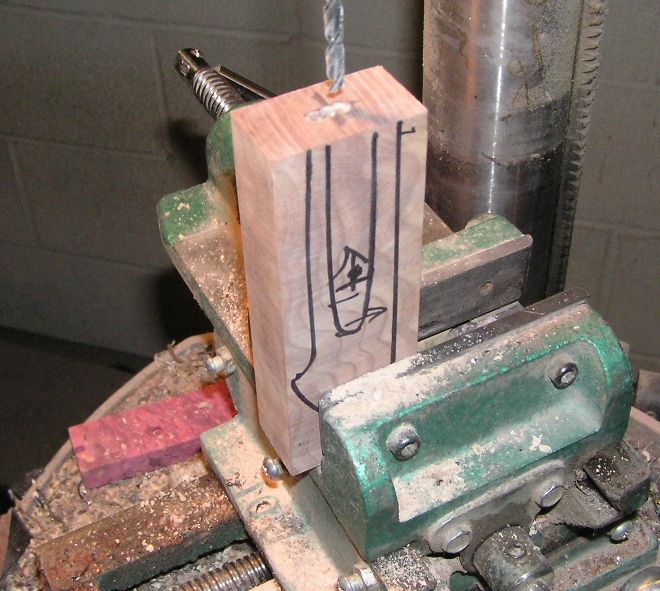
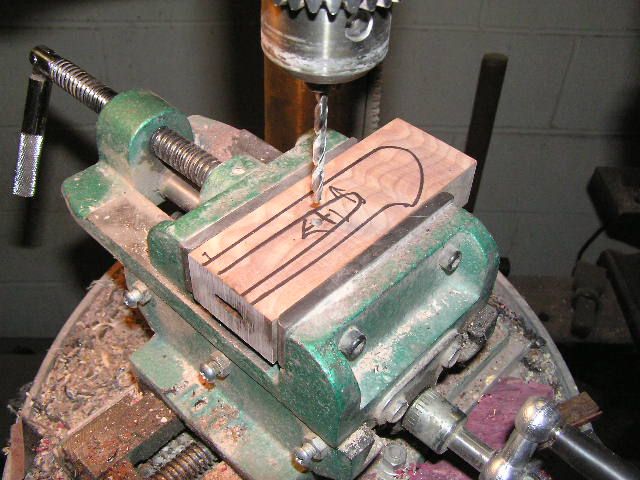
I then moved onto drilling out the tang hole in the "baconwood" block.


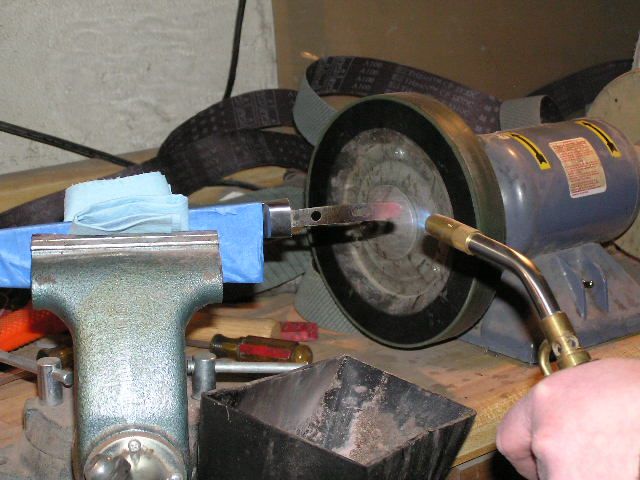
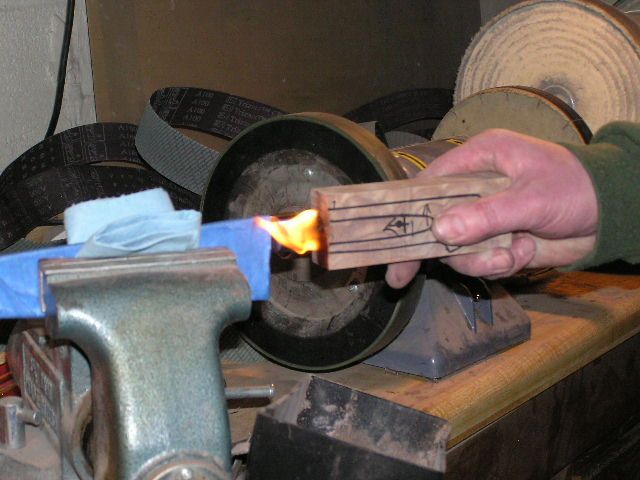
Then onto the fun part - burning in the tang!

The process starts out by heating the tang's tip to orange color (very hot).


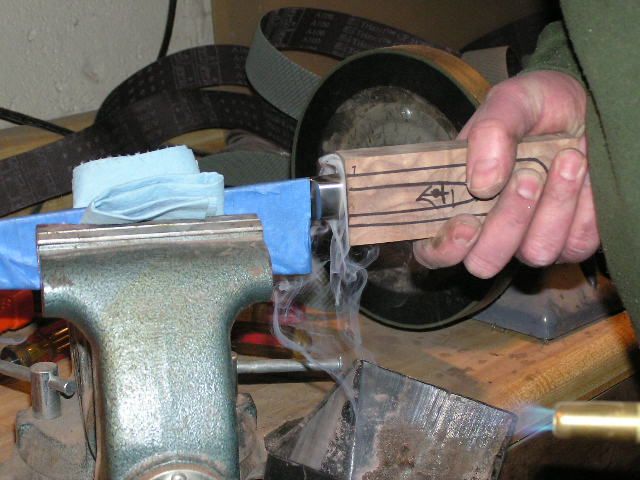
Then I push it on home, sometimes we get flames.


Also lots of smoke too. Good thing I have a dust collector set up below sucking the smoke out of the shop.


Then finally I drilled the single pin hole that this handle will have.


Now for mounting & gluing.....


The wood is mounted and epoxied - cures overnight. 

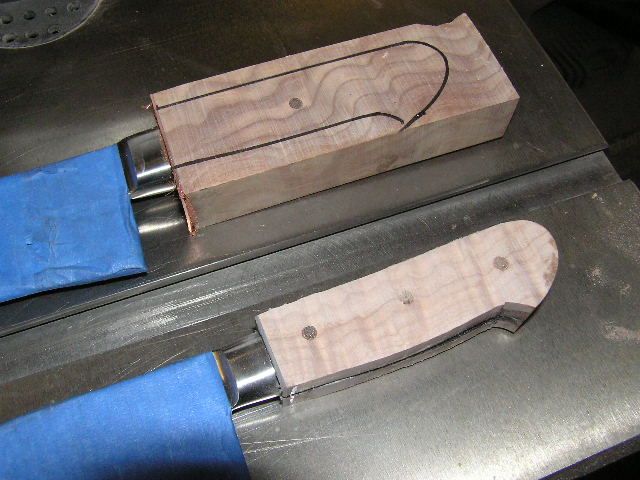
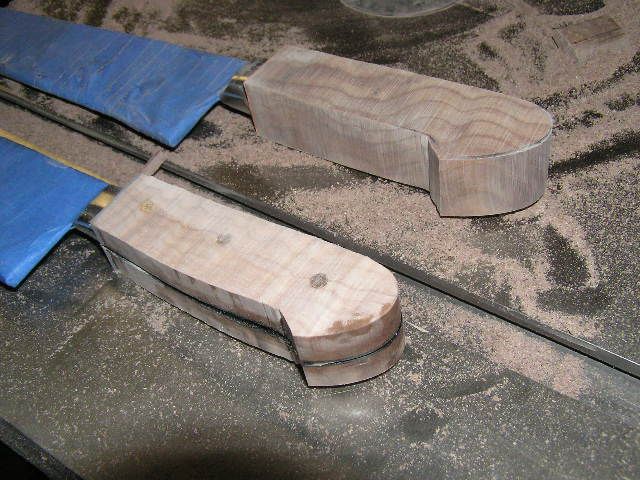
Here are the knives after glue up, clamps removed.


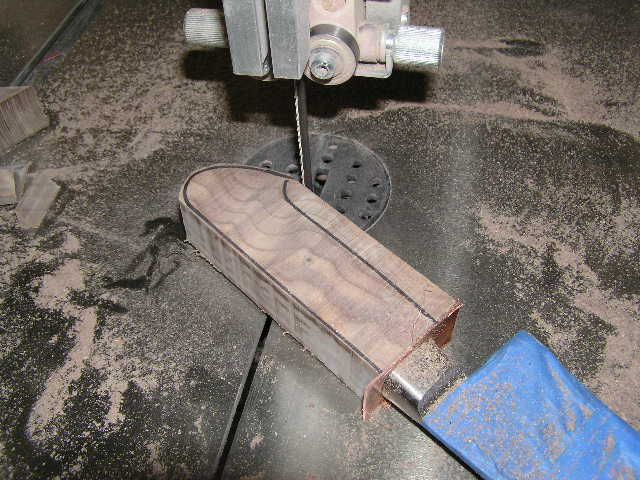
Here I cut the gyuto handle profile from the baconwood block.


The wood is ready for shaping.


Rough shaping the wood into the form of a handle. This is the pucker part.


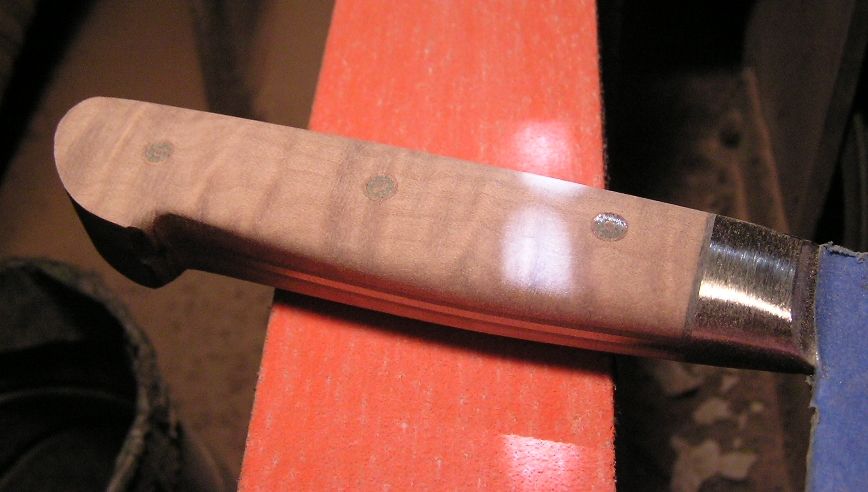
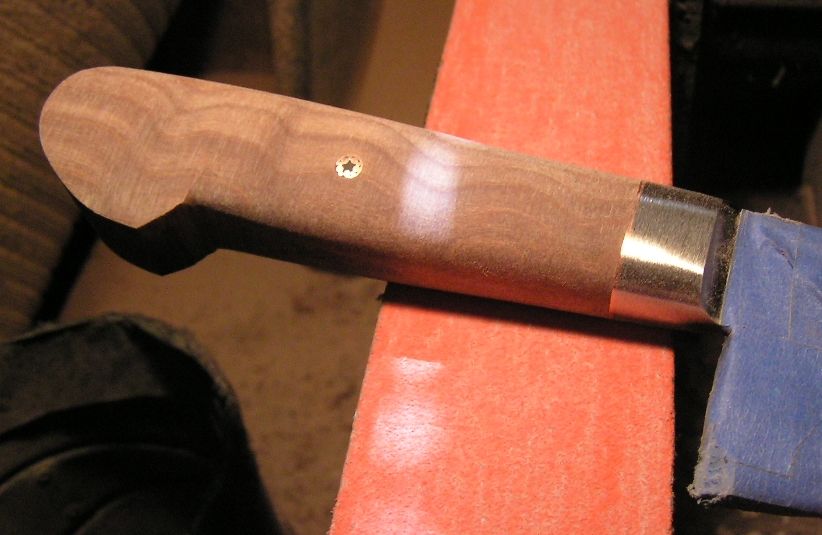
Both handles are rough shaped using a 36x grit belt followed by an 80x belt which you see in the pictures above. I grind the bolsters at the same time to get a flush fit. 

I then go through a series of belts up to 220x.


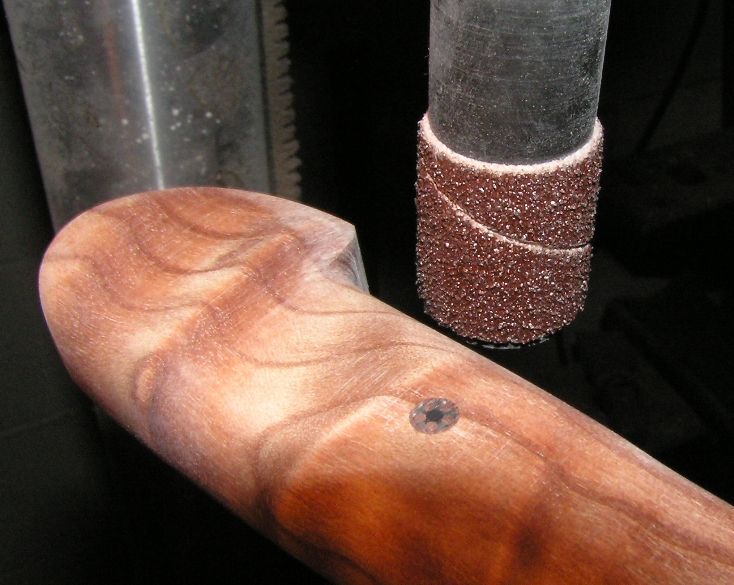
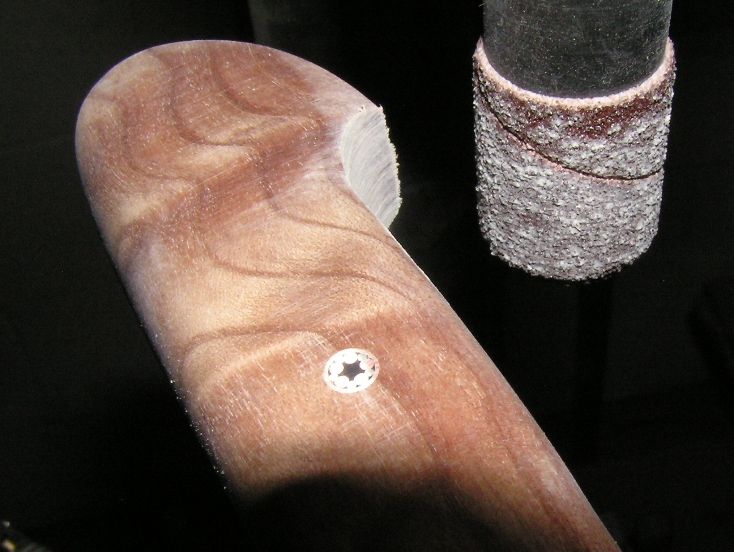
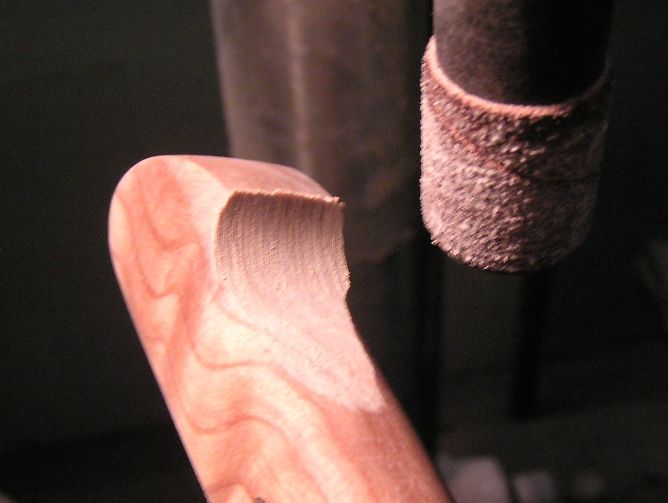
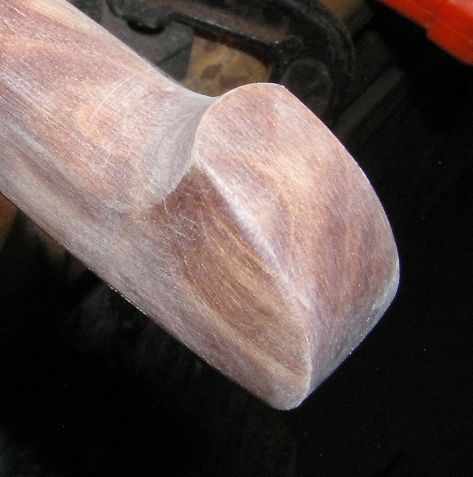
Now to shape the curl (sometimes referred to as the bird's beak) section of the handle. Since I don't have a nice small wheel attachment for my belt grinder I have to use little drum sander spindles in the drill press.


Here's what I'm looking to achieve.


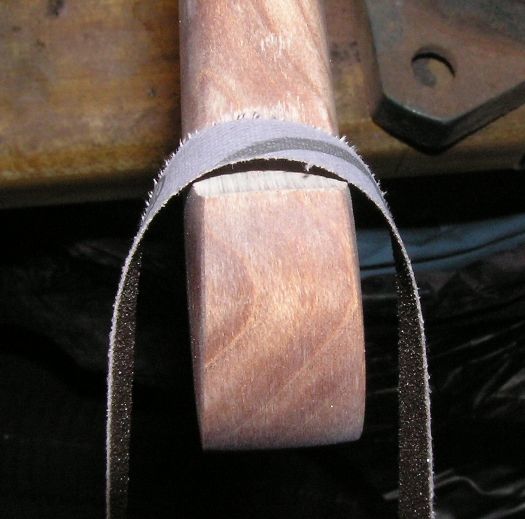
I then use sandpaper strips to (shoeshine) shape the curl (bird's beak) into a comfortable grip. This step is important since the wrap around fingers land here.


Here's what I'm after.


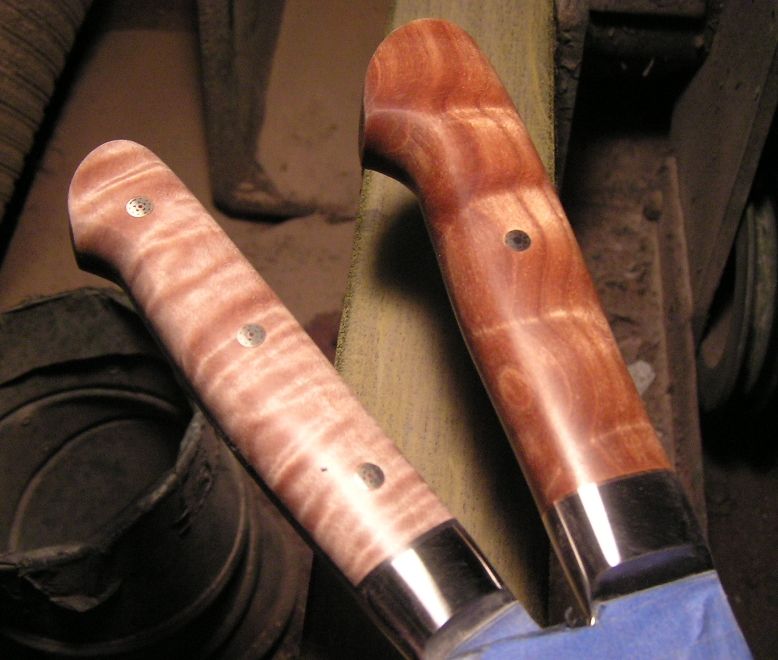
Now back to the grinder for some refinement, I take each handle up through to 400x. The handles are now ready for hand sanding & oiling.


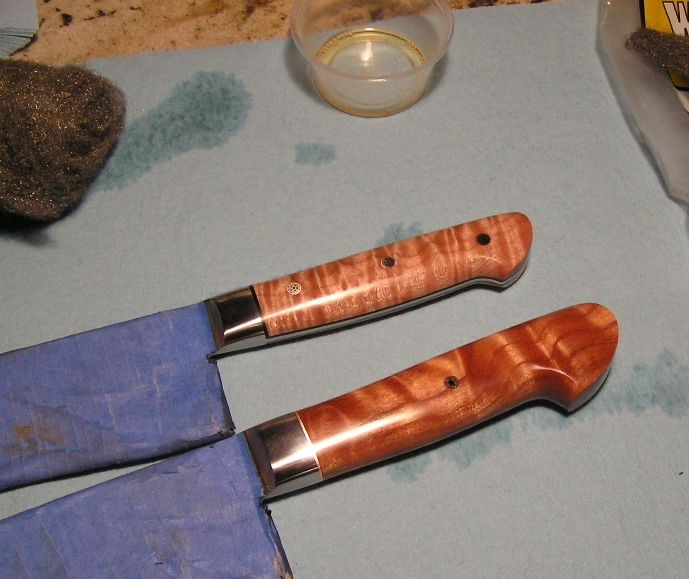
The handles have been wet sanded with both fine sandpapers and then with very fine steel wool.


I then seal the wood through oiling. I will start this process continuing on for at least two days, until I get just the right level of finish I'm looking for. 


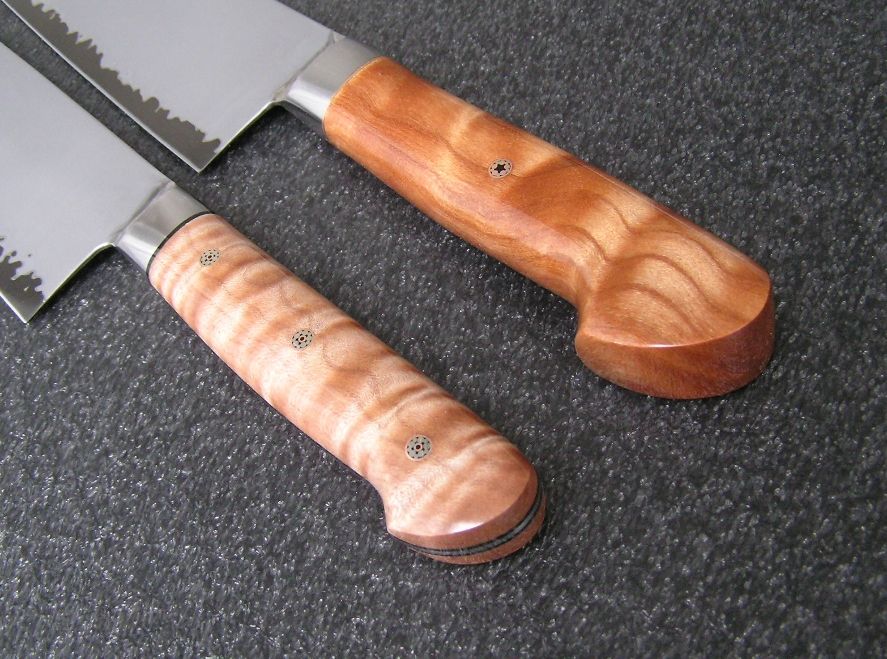
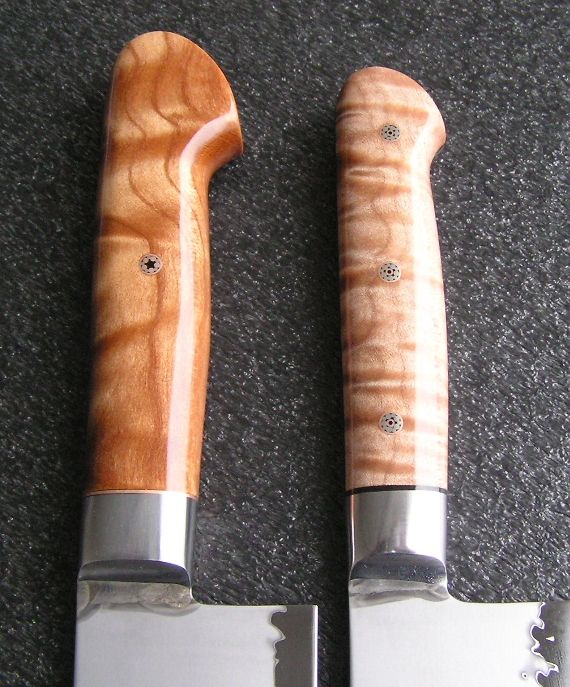
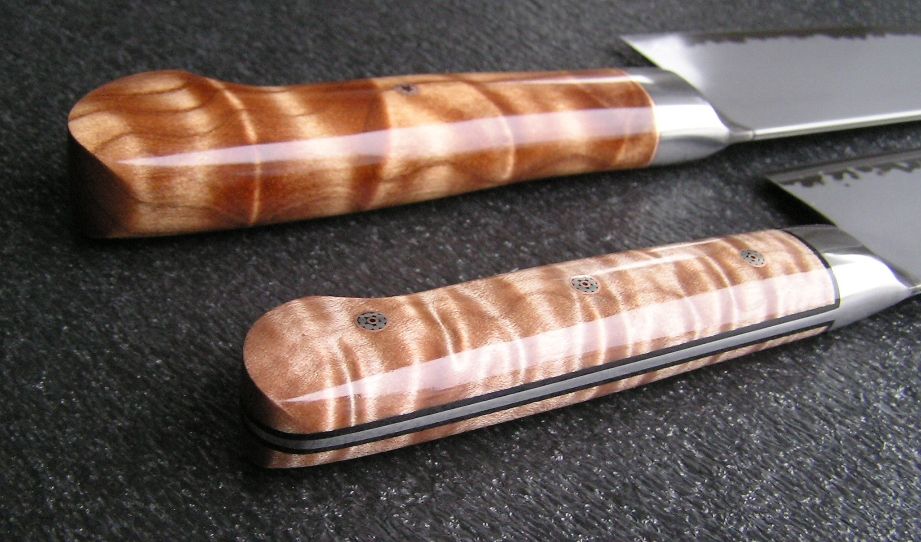
Here they are finished up...


To have a custom handle made for your Japanese kitchen knife please contact us a JapaneseKnifeSharpening.com 


Thursday, March 13, 2014

Blade Thinning Service

One of the most requested services that I perform is blade thinning. Since a knife is basically a wedge (triangular in cross section) it's easy to use and sharpen them to the point that they begin to earn this "wedge" description. This can be caused from improper sharpening, edge damage repair, or simply just from being a thicker knife that's been properly maintained over many years. There comes a point where thinning at just (or above) the edge doesn't work any more and the performance has tanked - this is where I come in.

What I do is I thin the knife back to what it's thickness once was, or even thinner, down into the edge. The knife is instantly transformed into a cutting machine again, it looks better too, and it is now MUCH easier to sharpen into the future.

Here's a very typical example of what I do when thinning a gyuto. I hope that you can see the difference in the blade's thickness from the before & after pictures. Again, this is typical, not in anyway a special job and it's typical of what you can have done to your aging knives if interested.


Saturday, February 8, 2014

Shun Kramer Meiji SG2 Damascus Redo

Here's a Shun Kramer Meiji SG2 6" Chef's Knife that came in for some spa treatment. It was thick and the factory damascus was somewhat faded although still factory shiny. I was tasked with thinning the blade, getting rid of the factory logo, and bringing out the contrast on the damascus. Here's the results...


Monday, January 27, 2014

Here's a vintage knife that came in for the full refurb. It's a c. 1879-1928 American Cutlery Co. Chicago slicer.


The owner asked that I fix the edge chips, correct the profile, & thin the blade while retaining the maker's mark (which was very lightly done). He also wanted a handle mounted too since apparently knives feel better in the hand with these things. He asked to maintain the full tang if at all possible, and supplied the wood.

The job went well except for the tang as it was just way too thin at the ass end (it was super tapered - the major problem here) and way too thick at the choil with many ups and downs in between. Even though I tried my best to save it I finally had to give up and grind it down. I then tried my best to replicate the feel and shape the tang but I sure do wish that I could have saved it none the less.

On the blade finish, I made a conscious decision to leave behind some of the original battle scars on both sides of the blade, sort of like leaving some history to it. It felt wrong to erase it's past completely.

In the end this knife feels great in the hand and surprisingly the blade gets STUPID sharp so I'm sure that the owner will enjoy using it. :)


Monday, January 13, 2014

Dishwashers + Custom Knife Handles = Don't Mix

I just got finished working on a rehabilitation of a custom handled Artisan gyuto that was sent through the dishwasher by mistake.

Dishwashed


I had done the initial rehandle on this knife in a premium AZ Ironwood Burl and thankfully we went with a wood this hearty as I think most others would have been toast.

The left scale had buckled (shrunk) slightly away from the bolster/tang but all over the wood was reduced in thickness exposing sharp surfaces from the pins and tang as well as some minor cracking was seen at the middle pin. I decided to keep the wood and fill in the gaps & cracks with CA glue and then sand everything flush to see what I had to work with. Surprisingly, little evidence of damage could be seen at this stage so I decided to press forward.

The problem appeared in that the wood was extremely dry, so dry that when sanded I got very little of that orange ironwood like dust and little to no orange oil would appear on a wet rag. I then dunked the handle in a cup of teak oil and was amazed to watch the handle drink this stuff up like a sponge - yes literally - like a sponge. I soaked it for a couple of hours and then went to hand sanding and hand rubbing oil into the surface. I continued on this process for days, over and over again until the handle didn't want anymore oil. I can't say how many coats it took overall, something like 40+.

I finished with two hand rubbed coats of my (new) top secret oil formula-mix and I'm quite pleased with how it turned out. Yes it's not as orange as it once was, it's actually a tad darker too, but overall the look is nice and the feel is buttery smooth which I believe is even better in this respect than it was originally.

Now the owner can once again hang this on the wall (or in his block on the counter) with pride and his wife doesn't have to live with the shame anymore.


Rehabilitated


Dishwashed

Rehabilitated


Dishwashed

Rehabilitated


Sunday, October 6, 2013

Devin Thomas, Stefan Keller, a friend name Jim, + Dave Martell = A KitchenKnifeForums.com Collaboration

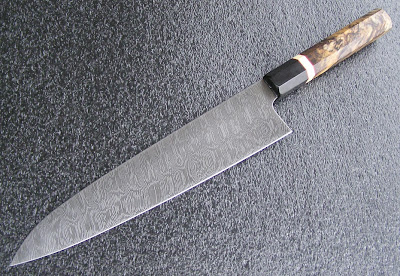
This project started off about 2 yrs ago (?) with Jim, KKF's esteemed admin, ordering a gyuto from me (this was the 8th knife order I received). Jim had a vision for his Martell gyuto....he wanted me to make a larger size than I had done before (a 270mm), he wanted a Stefan Keller custom handle (that would match his other 2 Martell knives with Stefan handles on them), and he wanted the steel to be damascus from Devin Thomas. A KKF collaboration was born!

I am very happy with the results and I don't feel this way often. The grind of the blade came out about as perfect as I can hope to do, the steel was a treat to work with, and Stefan's handle is a work of art that is like putting icing on the cake.

If there's one thing that I'm upset with it's the quality of the pictures I'm showing here, I just couldn't capture the beauty of the depth of the damascus pattern. It's so frustrating to see in person how the pattern moves and looks 3D and then looks so flat on the screen. I took about 80 pictures and these are the best.


The steel used is a combination of 52100 & 15n20....yes you read that correctly. Can you say double high carbon?
And to make sure that the steel gives up it's maximum performance we had the Boss Hoss (that's Devin Thomas in case you're not in the know) do the heat treat on it so we know it's going to kick ass. 


Well I hope that I did my part in this project, I know that Stefan, Devin, and Jim did theirs, I'm thankful for having been given the chance to work with these guys.